
-Landscape photography
Have you ever photographed wonderful landscapes, and returned home just to see the photos didn't come close to what you where experiencing? Landscape photography is quite fun, if you just have a plan for what you want to capture, and how you want to execute the shoot.
 |
| EXIF: f/8 - 1/125 sec - ISO200- 55mm - no flash |
Professional landscape photographers shoot their photos at two times during the day. I guess you know this already; at sunrise and at sundown. The reason why is very simple; these are the two times during the day when the light is soft and beautiful. In the middle of the day the sun is too sharp, the contrasts get too big and the shadows too dark.
The photo to the right is from mid winter, when the days are short and most of the light during the day is soft and beautiful. The wood in the water is the remains of an old ship wreck.
The timber is black, but it reflects just enough light because it is covered with a thin layer of ice. It's sundown, the sun has just dipped beneath the horizon making the sky look like champagne. This is of course the dream lighting for any photographer.
Wide angle lenses are the best choice for landscape photos, but you can shoot great photos with your kit lense as well. The photo above is shot with the 18-55 kit lense that came with my camera kit.
Many seem to think great photos depend on great equipment, but this is not true. You can be a great photographer with the equipment you have. People are often a bit suprised when I tell them I "only" have a Canon eos 450d.
Back to the photo, and back to the headline of this post "Keep your eyes on the horizon...". The horizon is your secret guide to landscape photography. The horizon gives dept to your photo. In this shot I have placed the horizon in 2/3 of the frame; 1/3 sky - 2/3 sea. I did this because I liked the small ripples in the water in the foreground, and the sky wasn't all that interesting. I think it's a good rule to always think in thirds when shooting photos. This brings dynamic to the shot.

Now, to the mistake I've seen too many times. The horizon line. Look at the horizon in the first picture. It's a straight line, and in 90 degrees to the frame of the image. If you look at the photo to the left you see the horizon line lean to the left making the sea pour to one side.
ALWAYS STRAIGHTEN YOUR PHOTO! Please. All photo editing programs have a feature called straighten.
I think landscape photography is much more interesting when there are several textures in them, like reflection from water, clouds, rocks and so on. If you shoot early morning photos waters are almost always like mirrors. If you want the whole photo to be in focus, you turn your program wheel to Av (Canon) / A (Nikon) and choose the highest f-number avaliable. To use high f-numbers requires a tripod. It doesn't matter if the exposure is long, the landscape is not moving anyway.
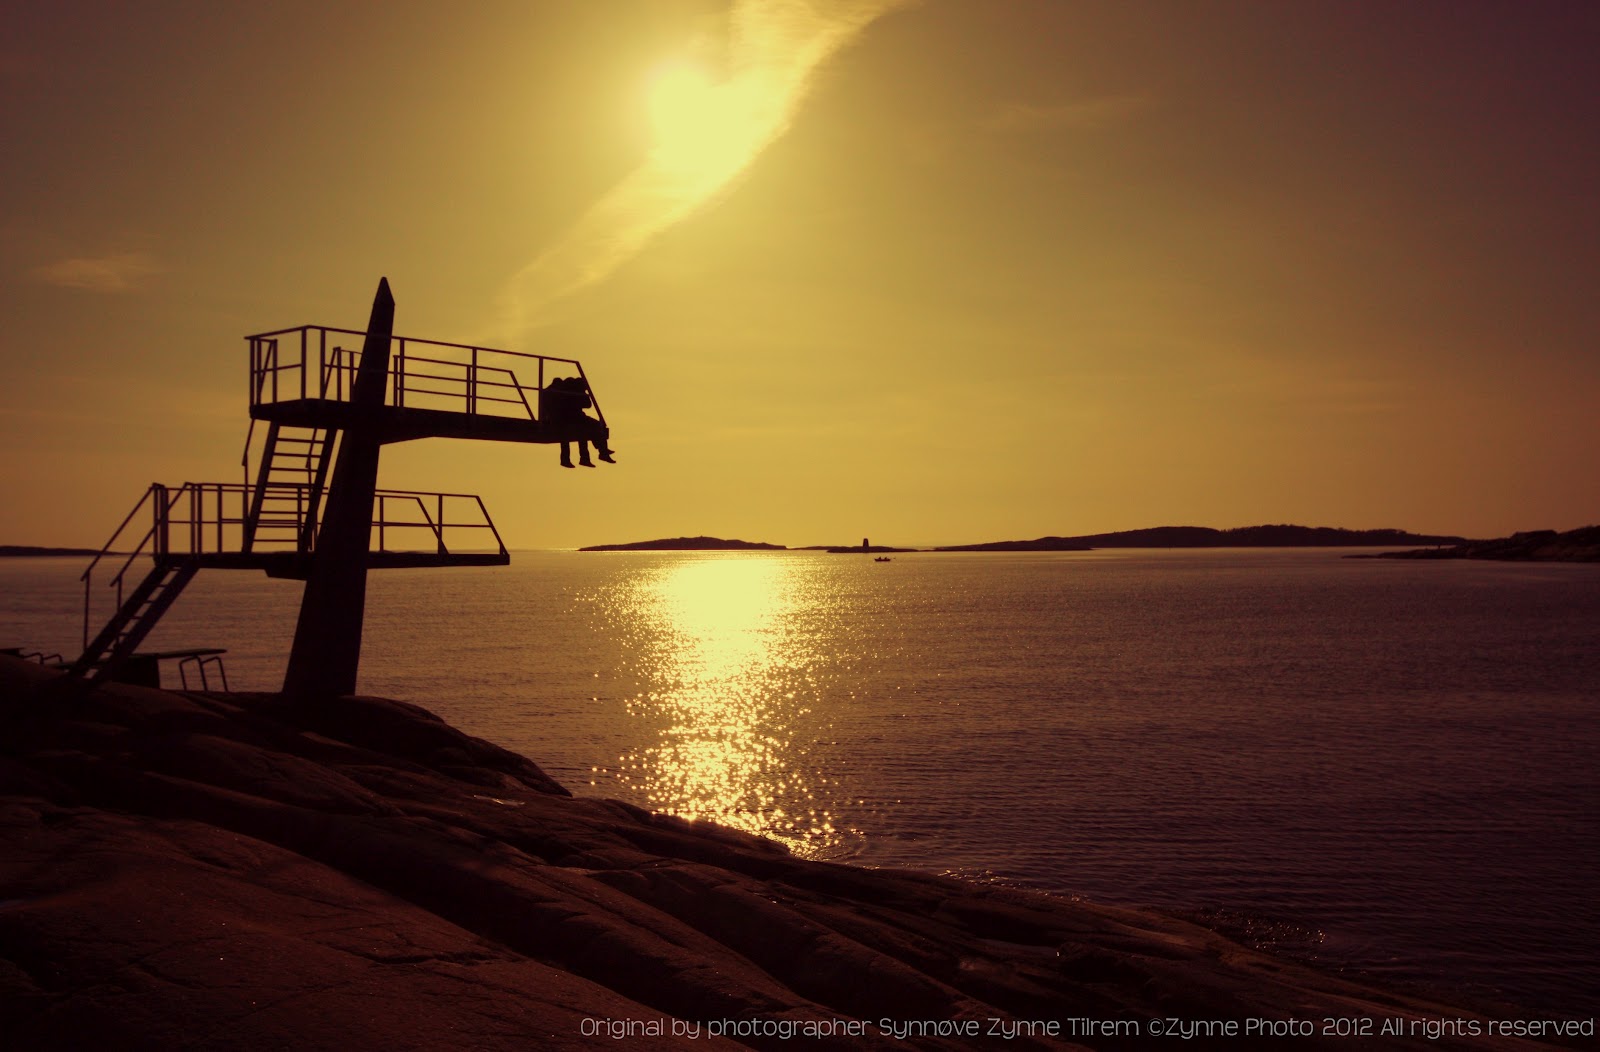 |
| EXIF: f/7.1 - 1/4000 - 20mm - WB/sun |
Silouettes are often great in landscape photography. The photo on the left is shoot in broad daylight, so I had to compensate by turning the shutter speed to the max. It's also shot with backlight which helps to enhance the silouette of the diving tower. I have used the diving tower to decide the section within the frame, usually I wouldn't put the horizon line in the middle of the photo.
There's a lot more to landscape photography than what I've mentioned today, so I'll have to come back to you on that...
Hope you all are having a great day!


